Machine Learning as a standard building block in your data pipelines
Machine learning has transformed the way businesses operate, allowing them to gain valuable insights from vast amounts of data and make data-driven decisions. However, harnessing the full potential of machine learning has often been a challenging and time-consuming task. Enter Coalesce, a powerful platform that is revolutionising data transformations on Snowflake by providing a simple user interface and generating all the code needed for various functionalities, including ML capabilities like forecasting and anomaly detection.
The ML capabilities of Snowflake are brand new and Snowflake’s Umesh Patel has written a great blog about how to get started. In my blog, I’d like to take the example from Umesh one step further, using the same forecasting example.
Time-Saving: The True Business Value
Forecasting is a crucial aspect of any business that involves predicting future trends and demands to optimize resource allocation, inventory management, and strategic planning. Traditionally, forecasting involved complex algorithms and extensive coding, which often made it an arduous and resource-intensive task.
However, with Snowflake and Coalesce, businesses can now perform forecasting effortlessly and with utmost precision. By equipping Coalesce with specialized node types for forecasting, organizations can access an easy button for future predictions. All it takes is a few clicks, and Coalesce generates the necessary code, abstracting the technical complexities while ensuring accurate predictions. At the same time all generated code is still available, and the pattern can be optimised at any time too.
Let’s have a look!
Getting the input data
I’ll be using some electricity usage data (the same file Umesh used in his blog) to predict the usage of electricity. The CSV file is loaded to a cloud storage provider. To get the data into Snowflake, I’ve used Coalesce to build an external table.
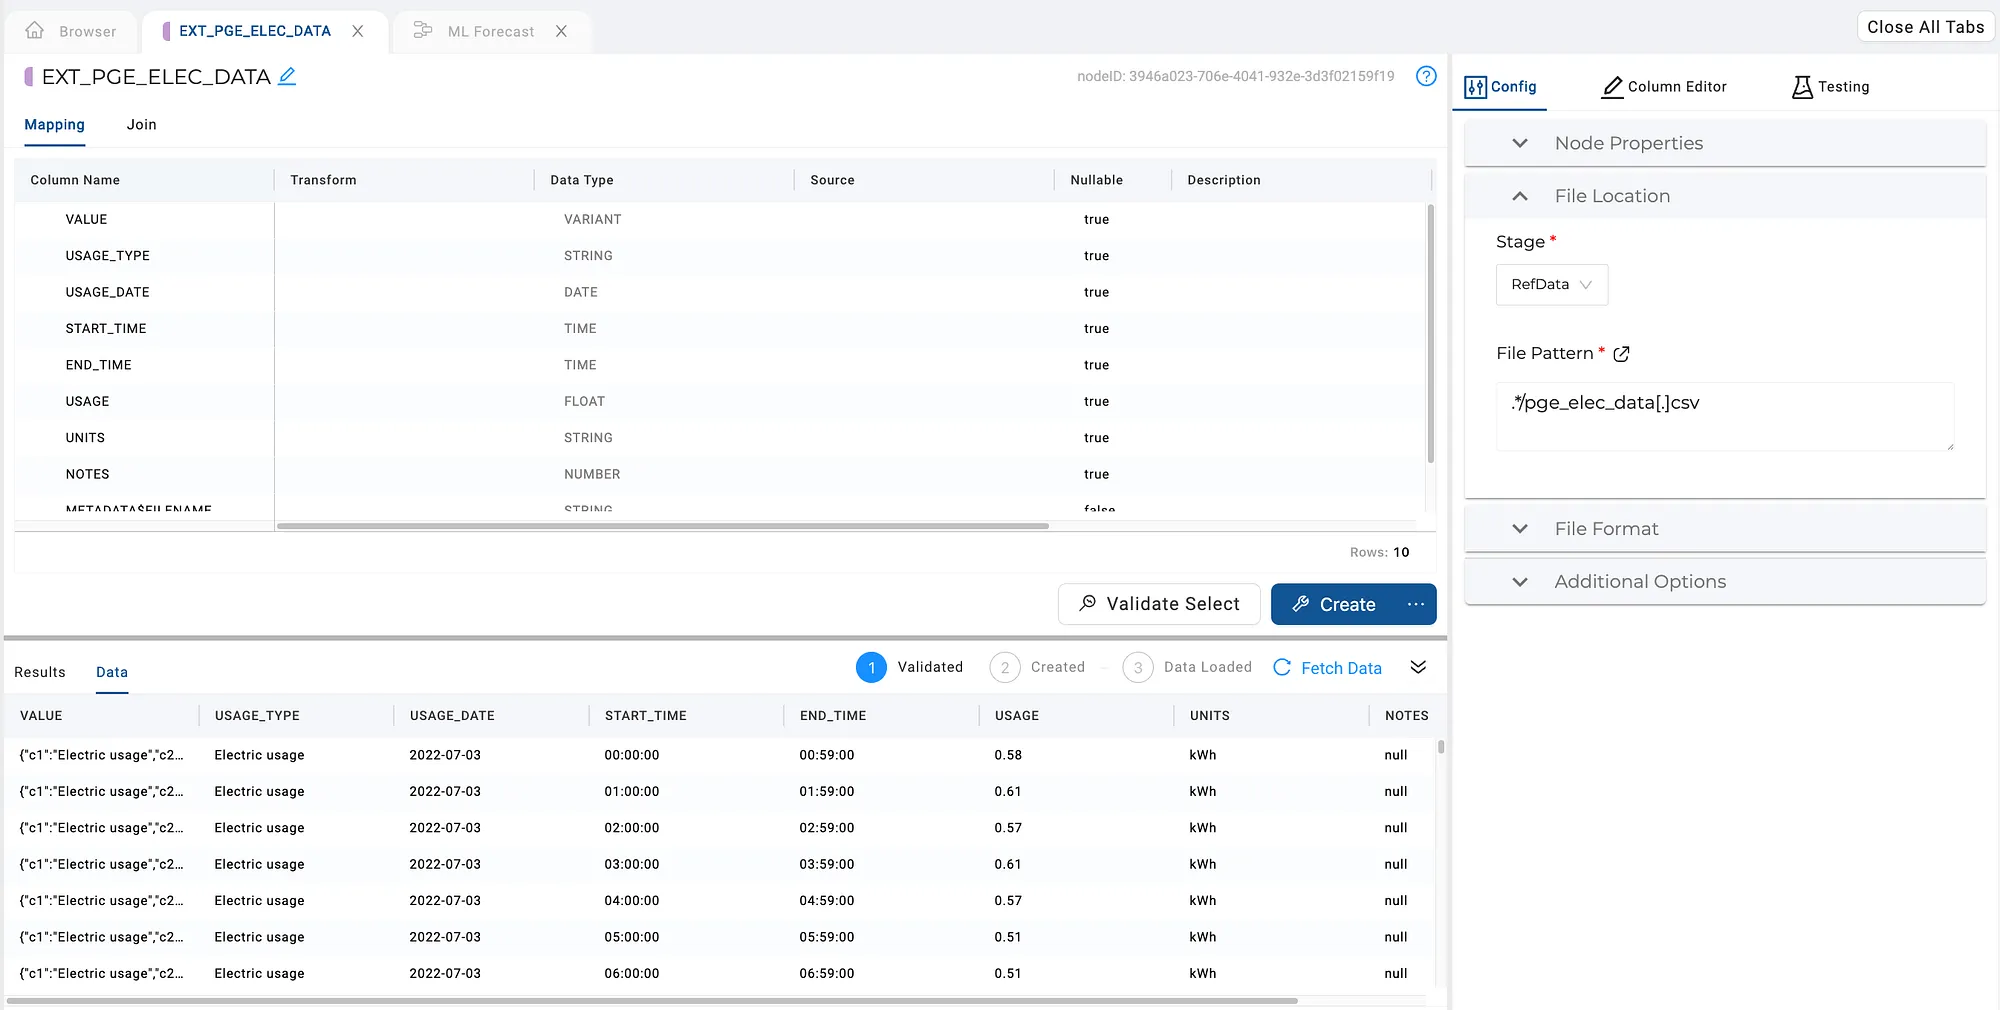
External Table to load energy data from CSV into Snowflake
The next step is to model the data, preparing it for training the forecasting model. Using a Stage node, I’ve aggregated and filtered my dataset. You could also join other data sources here, like weather information, for enhanced forecasting.
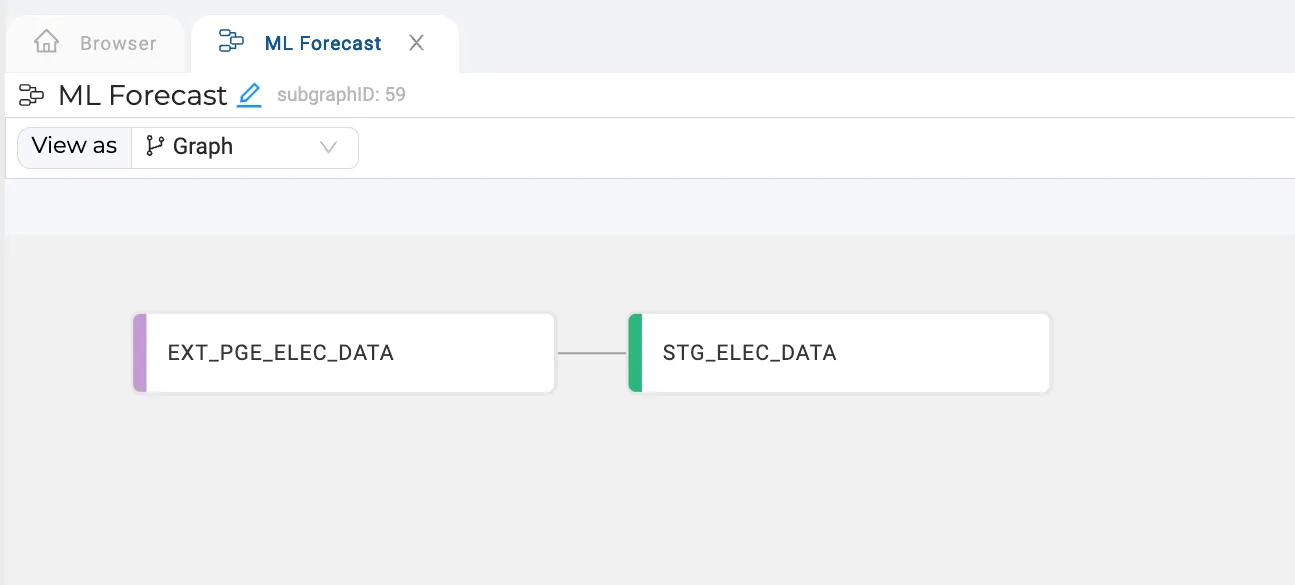
Loading and preparing the data — Done!
Training the model
We’re now ready to train the model with our dataset and generate the forecast data. The input for our model will just be the data and usage, so I’ll select those columns and build the ML Forecast node from them.
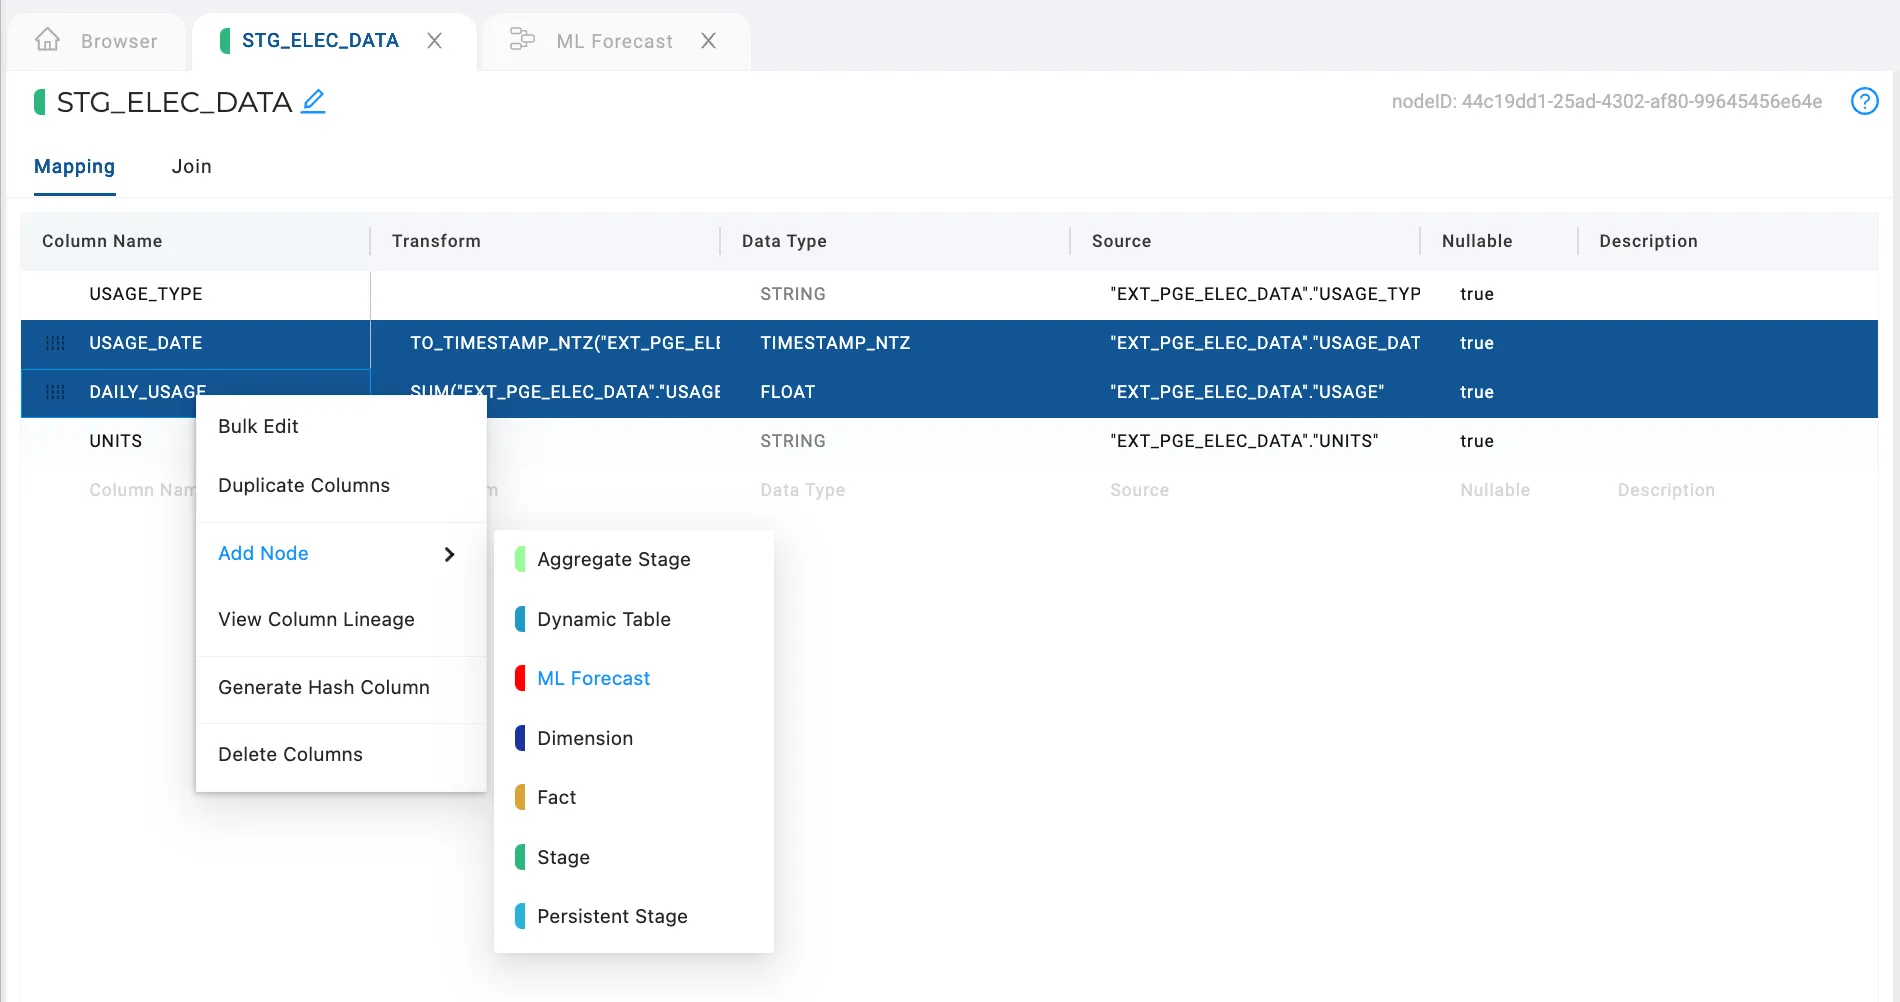
Selecting the columns and building a forecasting node
The new node is generated and opens automatically. It contains the two columns we started with, as well as the model’s output columns (Forecast, Lower Bound and Upper Bound).
The configuration options allow me to configure the model and the processing flow. In this case, we select our input columns and the amount of forecasting we’d like to do. There’s also a handy toggle button to include the input data as well as the forecast data in the target object. This saves me from adding an extra node to union the datasets.
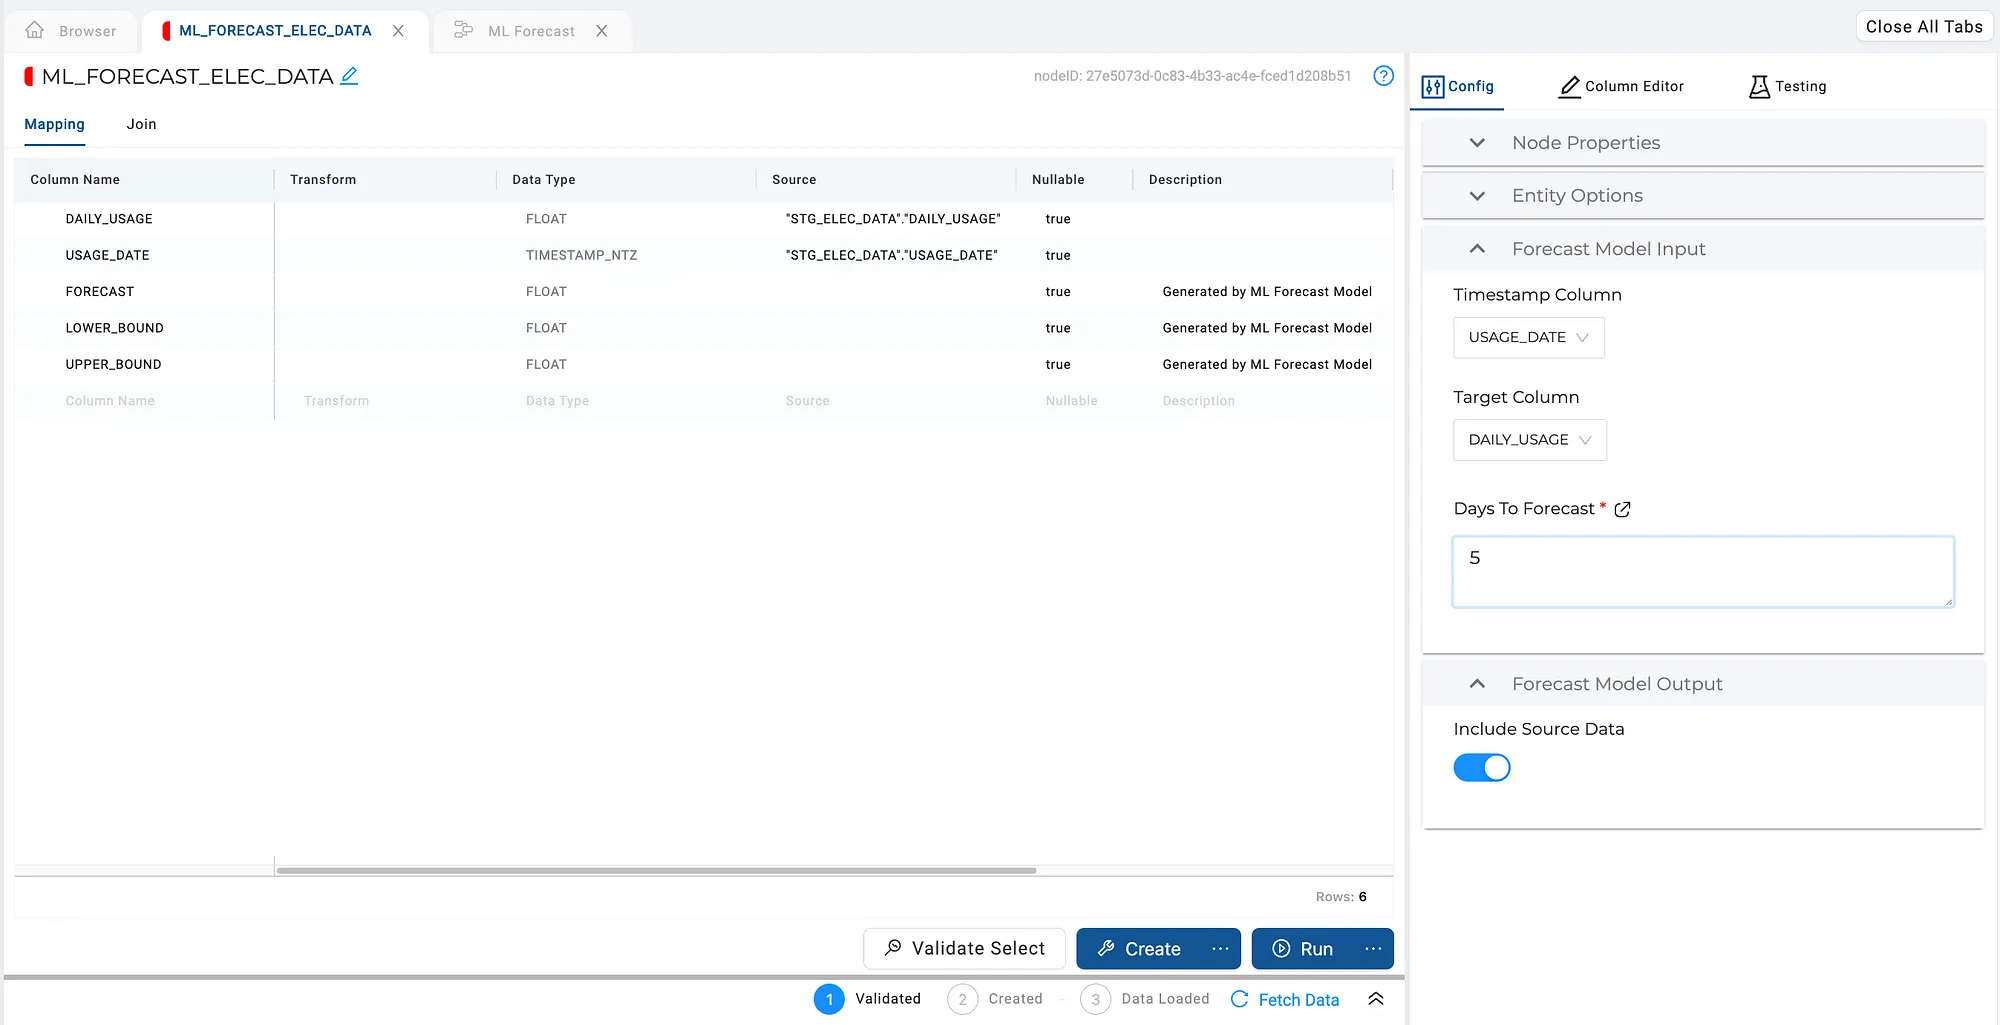
Configuring the forecasting model
As with all Coalesce node types, this entire interface is configurable! So, if you’d like to have more options available, they can be added by simply defining them in the node type definition.
It’s forecasting time!
That’s basically all that’s needed. Now, by pressing the Create button, Coalesce will train the model and create a table to store the data.
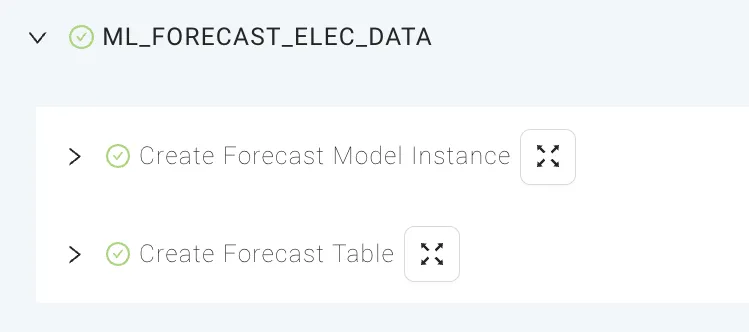
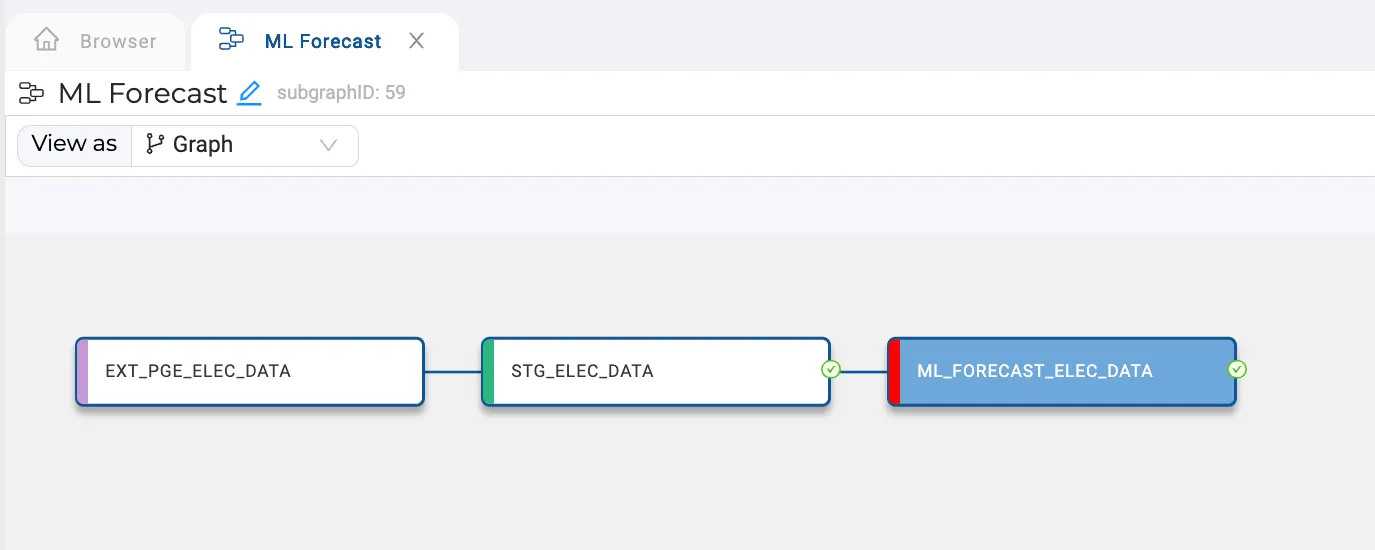
Coalesce created the model instance and target table
As usual, all generated code is available too.
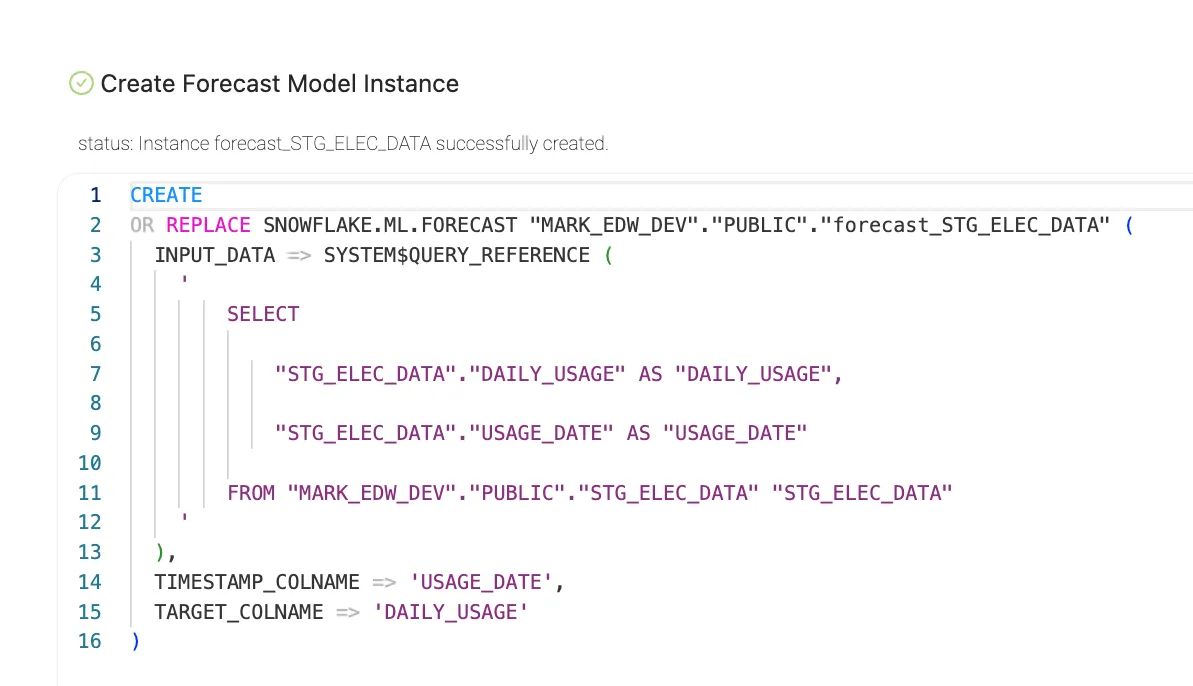
Generated code to train the forecasting model
The last step is to store the data, by pressing Run. The output preview shows us the combined set of historical data and the forecast.
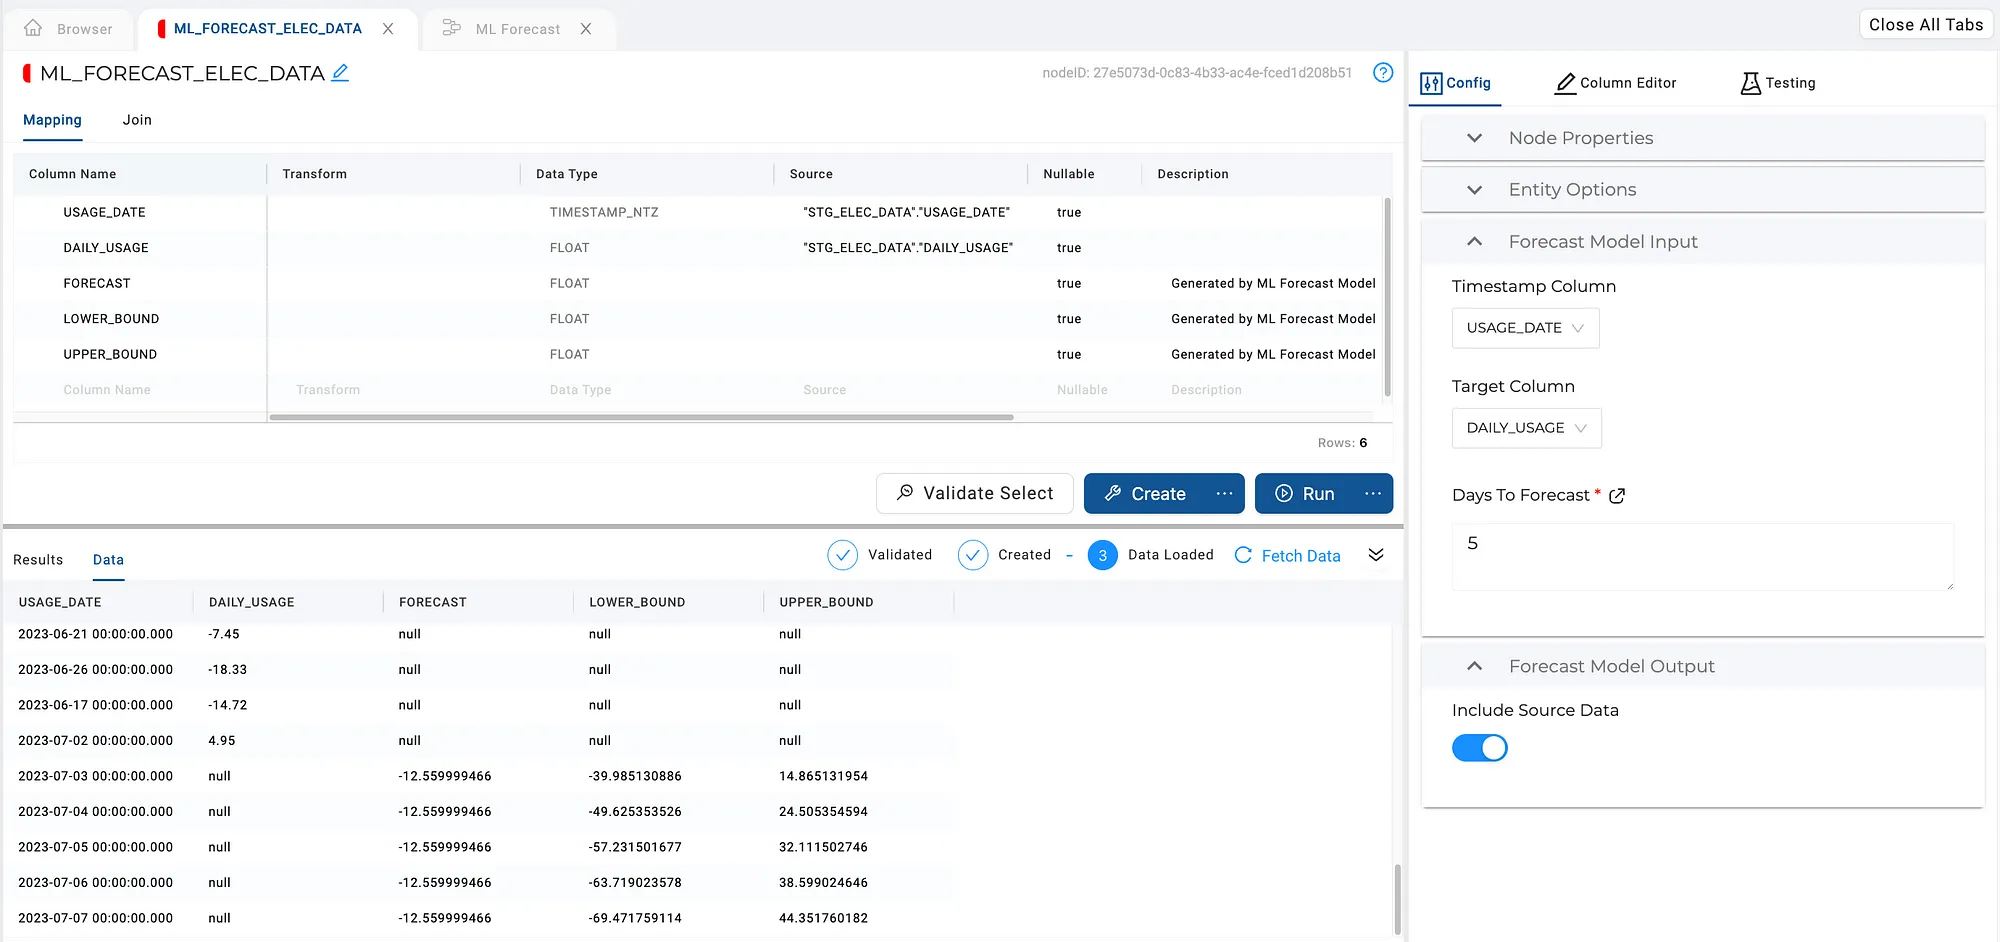
All done! Input and forecast data stored in a table, ready for consumption
Next steps
What is usually forgotten, is what you should do with your forecasting logic. How do you get this into production? How do you manage change?
Since your forecasting process is now wrapped into a standard Coalesce building block, it gets all the advantages of any other object built with Coalesce. So, it can be part of a regularly scheduled job, the metadata is stored in your git repository along with everything else, and it will be deployed like everything else.
And of course, you could extend this node type (or build a new one) to handle anomaly detection and any future ML functionality Snowflake may offer.
Conclusion
By leveraging Coalesce’s capabilities, organizations can instantly harness the power of Snowflake and its increasing capabilities without being encumbered by technical complexities. As machine learning becomes a seamless and integral part of Snowflake, businesses can step into the future with confidence, leveraging data-driven insights to drive success and growth in today’s competitive landscape.
Would you like to give Coalesce a try yourself? Coalesce is on Partner Connect, so if you’re a Snowflake customer (or have a trial account) you can try it for yourself with just a few clicks and request a free trial.
This blog post was first published on Medium in July 2023.